How to display a larger profile image in your SmugMug contact form
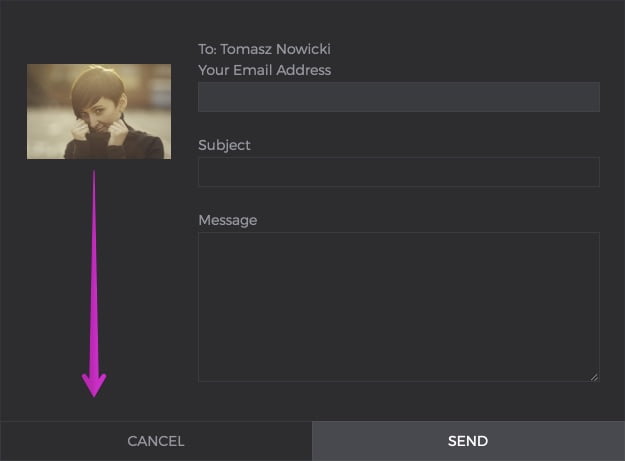
When you add a contact form to your site the profile image is displayed as a square thumbnail – leaving loads of empty space:

With little CSS coding you can make the profile image fill the space on the left side of your contact form so it appears like this:

As you can see – on the second screenshot the image nicely fills the empty space on the left side of the contact form.
HOW TO DO THIS?
You would need to create an image that you would like to use in the contact form. The image needs to have these dimensions 350px x 150px if your image is larger or smaller – this will not work.
Now upload this image to one of your galleries – an unlisted gallery is preferred { so your visitors will not see this gallery when visiting your site}. You also have to make sure that your gallery allows ORIGINAL image size to be viewed – you can change this in the GALLERY SETTINGS SECTION:

IMAGE PLACEMENT
Your image has to be located in an UNLISTED gallery on your account – otherwise this will not work. Do not add the image to the system WATERMARKS/PRINTMARKS gallery – those galleries do not allow you to set the maximum viewing size to ORIGINAL { at the moment }.
Just open your ORGANIZER → click CREATE → GALLERY and set the visibility to UNLISTED

Now open the image that you have uploaded to your UNLISTED gallery and click the SHARE icon that appears at the bottom of your photo. This will open a small popup window where you will need to copy the link to your original image, which we will use in the CSS code:

Now you will need to add the CSS code, which will replace the default contact form image – with your custom one.
Add a CSS content block in the ENTIRE SITE section of your website and then add this code to it:
/*Replacing contact form image with your own photo 150px x 350px*/
.sm-contact-pro-biophoto {
    background-image: url("LINK TO YOUR IMAGE");
    background-repeat: no-repeat;
    height: 347px;
}

.sm-contact-pro-biophoto>div {
    display: none;
}The last thing that you need to do is to replace the LINK TO YOUR IMAGE with the link to your own image, that you copied in the first part of this tutorial. Make sure that you paste the code between “”.
The modified code should look like this:
/*Replacing contact form image with your own photo 150px x 350px*/
.sm-contact-pro-biophoto {
    background-image: url("https://photos.smugmug.com/photos/i-ZRDrCdD/0/O/i-ZRDrCdD.jpg");
    background-repeat: no-repeat;
    height: 347px;
}

.sm-contact-pro-biophoto>div {
    display: none;
}Related articles
Comment
Leave a Reply Cancel reply
This site uses Akismet to reduce spam. Learn how your comment data is processed.
Support me
I am writing this portal in my free time and I pay for it myself. So, if you want to support my work – use this button to buy me a coffee 🙂 Which will help towards the hosting costs of the portal.
This once worked for me but now the image appears for a second then quickly flashes to an old man holding a camera.
This still works – but you need to make sure that you also assign a profile photo to your site: https://help.smugmug.com/update-my-profile-information-BkhWllvy4Bf